
Last updated November 21, 2026
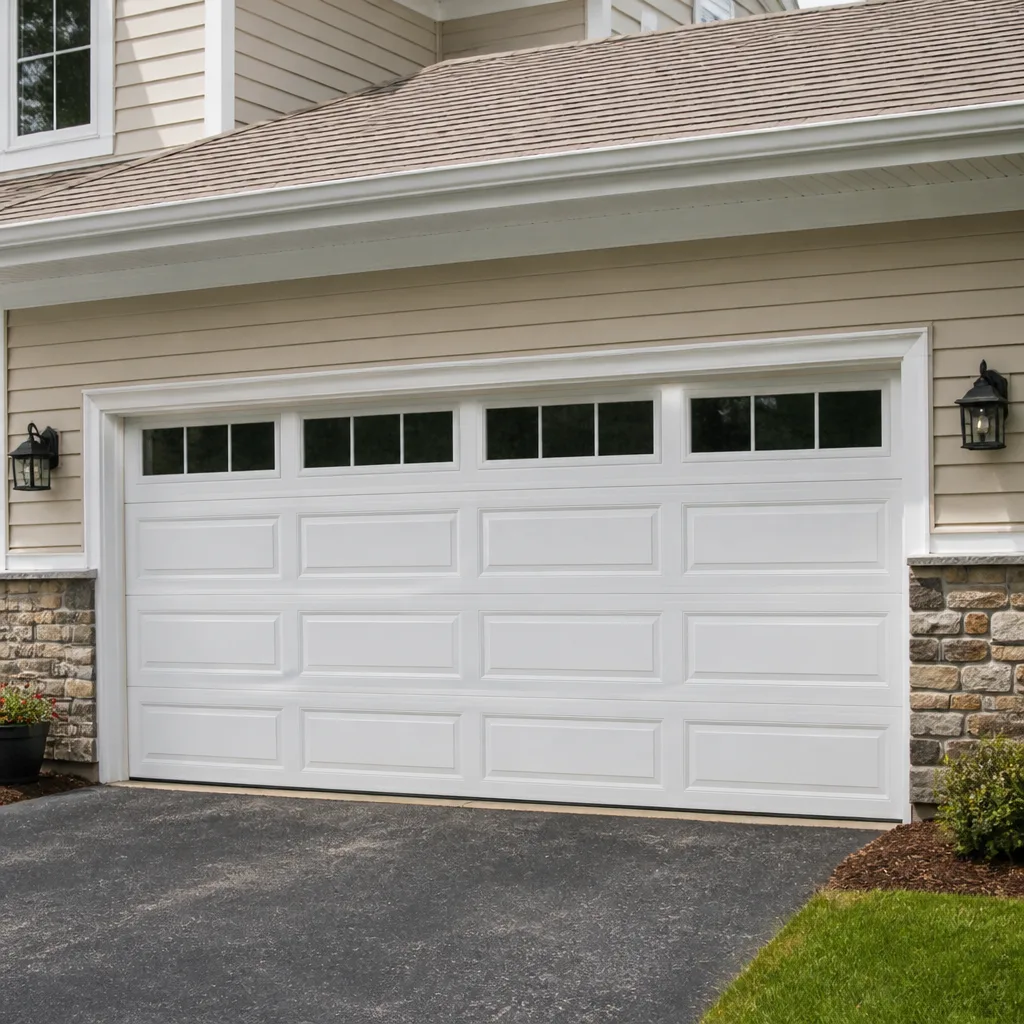 Raised-panel steel
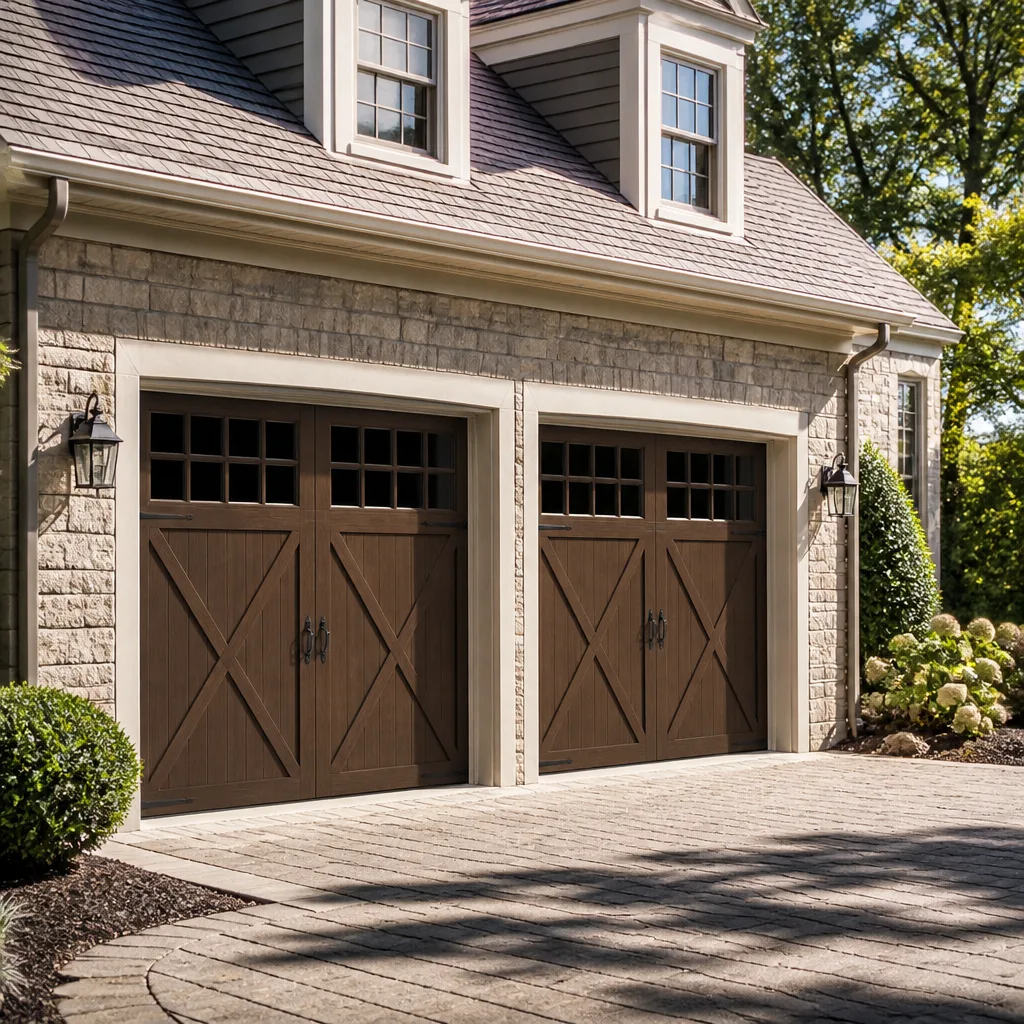 Carriage house
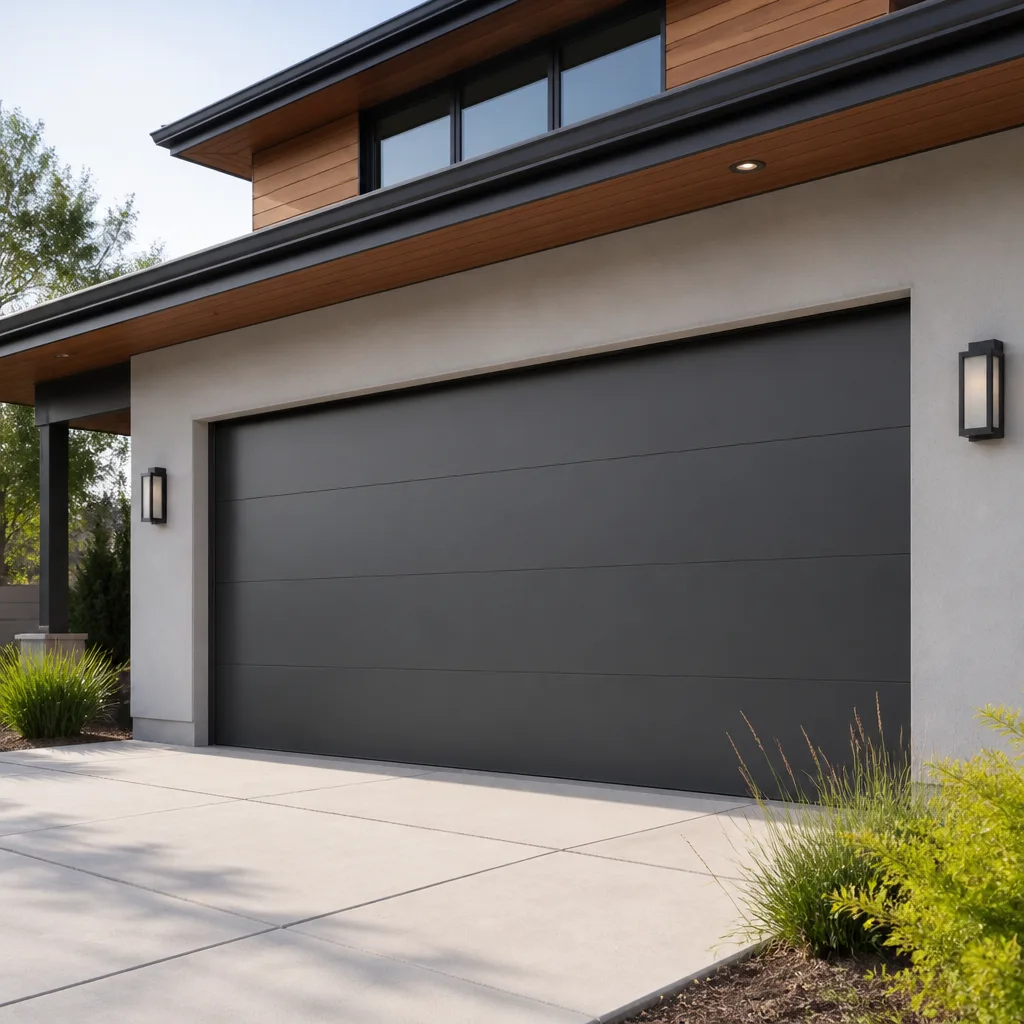 Modern flush
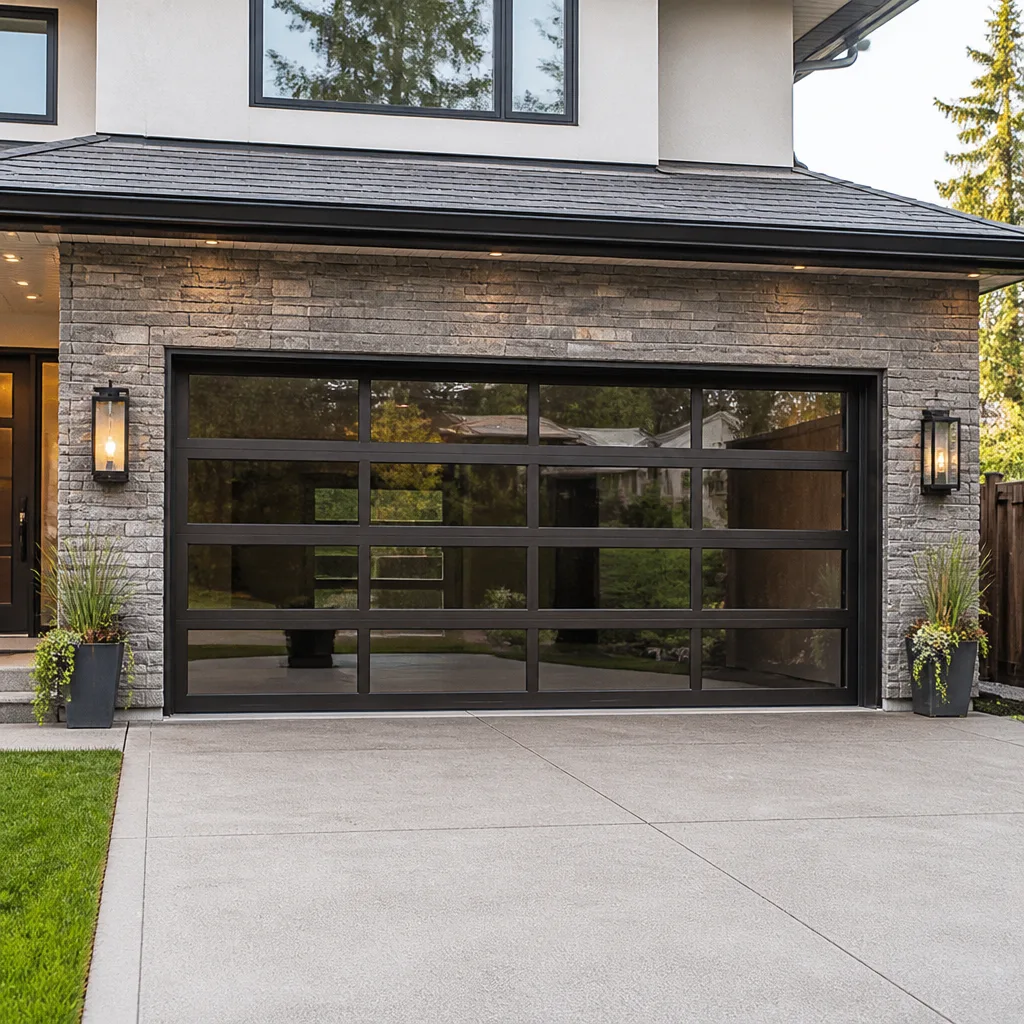 Full-view glass
 LiftMaster openers
 Chamberlain openers
Full 25-point door and opener safety check with every visit - springs, cables, rollers, tracks, and your LiftMaster or Chamberlain opener included
You get a price before we start. It does not change when the pro arrives.
Get your free estimateGarage Door Repair Maintenance Checklist for Astoria Homeowners
The most common emergency garage door call we get in Astoria starts with a torsion spring that was already showing wear three months earlier. The homeowner looked at the door, saw nothing obviously broken, and assumed the squeaking and the small gap under the door were normal. They aren’t. Most of what fails on a garage door gives a warning first, but only if you’re checking the right parts in the right order. This guide lays out a maintenance checklist timed to how doors actually wear out in Astoria, where the freeze-thaw cycle in winter, the humidity in summer, and the stop-and-go traffic on 31st Street all work on your door in different ways.
Quick Answer
A garage door maintenance checklist for Astoria homeowners should cover five things on a regular schedule: spring wear inspection, roller and hinge lubrication, track alignment, opener force and sensitivity calibration, and a visual check of cables, panels, and weather seals. Check the springs and opener monthly, lubricate every three to six months, and do a full inspection twice a year when the seasons change. Most failures we see in Astoria could have been caught weeks before they happened by a ten-minute inspection.
Styles & brands we work with
- Raised-panel steel
- Carriage house
- Modern flush
- Full-view glass
- LiftMaster openers
- Chamberlain openers
Table of Contents
- Why Astoria Garage Doors Fail Faster Than You’d Expect
- Spring Inspection: The Component That Fails First
- Lubrication That Actually Works in Urban Conditions
- Opener Force and Sensitivity Calibration
- Tracks, Rollers, and Hinges: What to Look For
- Weather Seals and the Freeze-Thaw Cycle
- What to Photograph and Write Down at Every Check
- The Seasonal Maintenance Schedule for Astoria
Why Astoria Garage Doors Fail Faster Than You’d Expect
Garage doors in Astoria take a different kind of wear than doors in the suburbs. A door in a detached house in a quiet cul-de-sac might cycle two or three times a day. A door in a home along Broadway or Steinway Street, where you’re pulling in and out through stop-and-go traffic several times a day, cycles far more often, and every cycle translates into vibration that works loose fasteners, settles rollers into worn grooves, and slowly misaligns tracks.
The other factor is Astoria’s weather. Our winters bring repeated freeze-thaw cycles, which means condensation and ice form on metal tracks, hinges, and spring coils, then melt and refreeze. That cycle strips lubricant coating faster than a cold, dry climate ever would. Summer is a different problem: high humidity keeps the metal damp and speeds up surface rust on painted steel and aging springs.
The urban environment adds a third stressor. Astoria’s housing stock includes plenty of older properties with narrow alley entries and tight garage openings. A door that has to be guided in from a sharply angled driveway sees more side-loading than a door with a wide, straight approach. Narrow driveways on the side streets off Ditmars Boulevard mean the door frame is more likely to have been bumped, which throws off track alignment over time.
- Higher cycle count: urban driving means more up-and-down cycles per day than most checklists assume.
- Freeze-thaw cycles: repeated condensation and ice accelerate lubricant loss on metal parts.
- Summer humidity: rust forms faster on steel tracks and older springs in our summers.
- Tight entries: narrow and angled driveways add side-loading to the door and frame.
All of that is why a generic “check your door once a year” rule doesn’t hold up here. Astoria homeowners need a checklist tuned to these specific conditions. If you’ve already got a failure and need a repair, our Garage Door Repair Astoria page covers how to get it fixed quickly. For the preventive side, keep reading.
Spring Inspection: The Component That Fails First
Torsion springs carry the weight of the door. Extension springs do the same along the sides of older doors. Either type is the single most common source of a serious garage door failure in Astoria, and either type gives visible warning signs before it breaks.
A torsion spring is the coiled bar above the door. Over thousands of cycles, the steel gradually fatigues and loosens. When you look at a torsion spring, you should be checking for three specific things:
- Gap in the coil: run your eye along the full length of the spring. A visible gap between two coils, or a section where the coils are noticeably spaced apart, is the most reliable sign of imminent failure. Springs almost always break at that gap.
- Rust streaks or discoloration: a rust-colored band or dark discoloration along the coil points to a fatigue area. Modern springs often have a painted or coated finish, and areas where the finish has broken down are more prone to break.
- Stretch or sag: a torsion spring that has visibly stretched in length compared to how it looked when new, or a torsion spring that has started to sag under its weight, is reaching end of life. Extension springs that have stretched noticeably beyond their closed length fall into the same category.
If you see any of these signs, treat the door as due for a spring replacement. Don’t wait. A spring that breaks while the door is open can drop the door, and a spring that breaks while the door is closed can leave it stuck.
A safety note, and it’s not optional: never attempt to adjust, loosen, or replace a torsion spring or its cables yourself. Torsion springs are under extreme tension, and the tools required to unwind them safely aren’t things a homeowner should touch. Cables snap without warning and can cause serious injury. This is the one part of garage door maintenance where the correct advice is always: look, don’t touch. Spring inspection is about observation only.
If a visual check turns up any warning sign, call a specialist who handles garage door repair as a core service. Our technicians have up to 9 years of experience and will identify whether the problem is the spring itself, the winding hardware, the cable, or all three.
Lubrication That Actually Works in Urban Conditions
Lubrication is the single maintenance step homeowners are most likely to get wrong, usually because they use the wrong product or skip the parts that matter most. In Astoria’s freeze-thaw and humidity cycle, the correct product and the right schedule make the difference between a door that runs quietly for years and a door that needs a repair call.
The correct product depends on the part. Here’s what we recommend for each:
- Rollers: a white lithium grease or a dedicated garage door roller lubricant. Don’t use WD-40 by itself here. It’s a solvent, not a lasting lubricant, and it leaves rollers dry.
- Hinges: a light machine oil applied at the pivot points. Wipe off excess so dust doesn’t collect.
- Tracks: a very thin film of white lithium grease on the inside curve of the track, never a heavy coat. Over-lubrication attracts grit.
- Torsion springs: a spray lubricant specifically designed for torsion springs. Thin film only.
- Extension springs (if present): a light spray lubricant on the coils, avoiding the safety cables and attachment points.
- Opener chain or belt: chain-drive openers need a chain-specific lubricant. Belt-drive openers from LiftMaster or Chamberlain typically don’t need lubrication at all. Check your opener’s manual.
What not to use: household multi-purpose spray oil, cooking spray, silicone spray on tracks, or anything labeled “penetrating oil” as a long-term solution. These either evaporate, attract grit, or fail quickly under load.
Frequency depends on use. In Astoria, with the higher daily cycle count we mentioned, we recommend lubricating rollers, hinges, and springs every three to four months, and checking tracks for thin coating every two months. If your door is in a home along a busy road, the dust and grit in the air settle on the tracks faster, so a monthly wipe-down of the track with a clean rag before you re-apply grease is worth adding. Skip the chain unless it looks dry; over-lubricating a chain causes it to throw grease on the door panels.
Opener Force and Sensitivity Calibration
An opener that’s calibrated wrong is doing two bad things at once: it’s pushing the motor harder than it needs to, and it’s masking a mechanical problem you should be fixing. Both burn out motors faster, and both set you up for a repair call.
The good news is that calibration on most modern openers from Genie, LiftMaster, Chamberlain, and Craftsman is something the homeowner can check in five minutes without touching the mechanics.
Here’s the sensitivity test for a door with a standard safety reverse feature:
- Place a small object on the floor under the door: a piece of wood, a foam block, or a rolled towel, about an inch thick.
- Close the door using the wall opener: the door should reverse within a half-second of contacting the object. If it keeps pressing, stop and adjust.
- Test the force: place an object a few inches tall directly under a closed door and open it again; the door should open smoothly without straining.
- Check the safety sensors on the rails: wave a hand through the photo-eye beam near the floor. The door should stop or reverse. If not, adjust the sensor alignment.
If the door fails the sensitivity test, the correct fix depends on the opener’s brand and model. Most units have adjustment dials or settings in the wall control panel. A door that needs constant force adjustment to close is almost never an opener problem. It’s usually a door problem: worn rollers, misaligned tracks, or a spring that’s lost tension. Pushing the force setting higher just makes the motor work harder against a door that isn’t running true. That’s when our garage door opener repair team gets involved; we work on the brand you already own, so you’re not pushed toward replacing a system that just needs a proper adjustment.
If you’re using a smart opener or a Raynor system with automatic force calibration, the door generally steps through its own test after a power interruption or a setting change. If the door struggles, stop and get it checked before the motor keeps fighting.
Tracks, Rollers, and Hinges: What to Look For
Tracks and rollers are the parts that quietly degrade in Astoria’s tight-entry driveways, and they’re the easiest to check on your own. A door that’s running on worn rollers or slightly bent tracks will still work, but every cycle is doing a little more damage to the panels and the opener.
Walk to the door and look for these problems:
- Bent or bowed tracks: look at the vertical and horizontal tracks from a low angle. A dent or a visible bend, especially near the bottom, sends the door off-track eventually. Bent tracks are usually from impact.
- Rollers out of the track: the rollers should sit centered inside the track. Any roller that looks pulled to one side, or any spot where a roller doesn’t follow the track smoothly by hand, needs attention.
- Loose hinges: grab the hinge at each panel edge and gently wiggle. Anything that moves more than a hair has loose fasteners. Snug them, but don’t over-tighten; stripped screws in the door panel mean a repair.
- Worn rollers: steel rollers last longer than nylon ones, but nylon rollers (common on Clopay and Amarr door systems) run quieter. When a roller’s surface shows a ridge or its bearing surface is exposed, it needs replacing.
- Uneven gap under the door: a millimeter of difference from one side to the other means the door is skewed. Skewed doors wear out the rollers and tracks faster.
The narrow driveways of Astoria make panel and track damage more likely than in areas with wider, straighter approaches. When you’re backing in, a slightly angled approach puts lateral pressure on the door and frame. Backing in carefully, or reversing straight in a straight line before turning, is worth the extra ten seconds if your driveway has a hard angle.
If a track is bent or a panel is damaged, don’t try to bend the track back by hand. That’s a job for someone who knows the correct tension and alignment.
Weather Seals and the Freeze-Thaw Cycle
The weather seal along the bottom of your garage door is the part most affected by Astoria’s freeze-thaw cycle, and the part most homeowners never look at. A seal that’s cracked or separated lets in water, which refreezes at the base of the door, and repeated freezing damages both the seal and the door’s bottom panel. It also lets in drafts and pests, so the door does less of its job in both winter and summer.
Check the bottom seal every few months, especially after winter. Look at the rubber strip under the bottom panel. It should be flexible, pliable, and make full contact with the floor when the door is closed. Signs the seal needs replacement:
- Visible cracks, splits, or missing sections in the rubber
- Hard, brittle rubber (it should flex easily when you press it)
- Daylight or a draft visible under the closed door
- Water pooling at the base of the door after rain
Side seals and top seals matter too, though they wear more slowly. Run your hand along the sides of the closed door and feel for gaps. Any gap that lets air through is a gap that lets water through in a thaw.
If the bottom seal needs replacement, the work is straightforward but requires the correct seal profile for your door’s brand and size. A poorly fitted seal creates a new alignment problem. It’s worth having the replacement done right; a standard replacement through our garage door installation team covers seals, panels, and complete door replacements when the door itself has aged out.
What to Photograph and Write Down at Every Check
Here’s the part every generic checklist skips: documenting what you see. If you ever need to call a technician, having organized photos and notes turns a vague description into an actionable brief. It means the technician arrives prepared, and it cuts down on the back-and-forth that loses you time and money.
At every check, get a photo of:
- The full torsion spring from both ends: a wide shot and a close-up of any gap or rust spot. This is the single most useful photo to give a technician.
- The floor under the closed door from inside: this shows any gap in the weather seal.
- The tracks from a low angle: put the camera near the floor and shoot up along both tracks.
- The opener’s wall control panel: note the brand and model. Most units have a model sticker on the opener housing. A photo of the sticker is enough.
- Each hinge from a front angle: captures loose or distorted hinges at a glance.
In a notes file on your phone, record the date, what you checked, and anything that looked unusual. If the door starts squeaking more, reversing slowly, or opening unevenly, that note gives you a timeline. It tells a technician whether a problem started a week ago, a month ago, or after the last freeze. That’s the kind of detail that saves diagnostic time and keeps a small fix from turning into a bigger one.
If you’re on a small business property in Astoria with several doors, the notes file matters even more. Keep a single sheet with the date of each door’s check, and photograph all of them. Having that record means a repair call is a scheduled job, not an emergency.
The Seasonal Maintenance Schedule for Astoria
Here’s the checklist timed to Astoria’s calendar, working from the pattern of what we see fail each season. Adjust the months slightly if your door cycle count is higher or lower than average.
Early Spring (after the last freeze)
- Full spring inspection with photos
- Look for rust or bubbling paint on tracks and hinges
- Check the bottom seal for freeze damage
- Lubricate rollers, hinges, and springs
- Test the safety reverse feature
Early Summer (start of humidity)
- Re-lubricate any parts that look dry
- Wipe down tracks and re-apply thin grease
- Check for rust forming on panels and hardware
- Re-test the opener force and sensitivity
- Inspect seals at the sides and top
Early Fall (before winter)
- Full spring inspection with photos again
- Lubricate hinges, rollers, and springs
- Clean tracks (urban dust collects over summer)
- Test the reverse feature and sensor alignment
- Check the bottom seal for gaps that would let water in
Early Winter (start of the freeze)
- Sensitivity and force calibration test
- Check tracks and rollers for looseness from freeze-thaw cycles
- Wipe down any rust spots and apply a thin protective coat
- Document any sound changes since the fall check
- Note if the door is running harder than before the freeze
Beyond the seasonal checks, do a quick visual scan of the spring every month. That’s ten seconds, and it’s the fastest way to catch a spring failure before it happens. If you see anything along the way that concerns you, our free estimates on repairs make it easy to get a professional look without guesswork. When the door won’t move at all, emergency response is what we do.
Common Mistakes to Avoid
- Greasing the tracks heavily: a thick coat of grease on Astoria tracks collects grit from the street and turns into grinding paste. Use a thin film, not a heavy coat.
- Using WD-40 as a long-term lubricant: it’s a penetrating oil, not a lasting grease. Rollers and hinges need a product that stays put through hundreds of cycles.
- Adjusting the opener force to compensate for a hard-running door: if the door is hard to close, the problem is mechanical, not electrical. Pushing the force setting higher masks a failing spring or worn rollers and burns out the motor.
- Bending a track back by hand: a bent track tempts you to pull it back. The metal will be weakened and will bend again, usually worse.
- Ignoring a small gap under the door: in Astoria’s freeze-thaw cycle, a small seal gap lets in water, and repeated freezing turns a cheap seal replacement into a bottom-panel replacement.
- Checking the spring only when it looks “off”: springs fail at the visible gap, which doesn’t announce itself. Check monthly.
- Skipping documentation: without photos and notes, a small issue gets described vaguely to a repair company, and the visit takes longer than it needs to.
See the difference
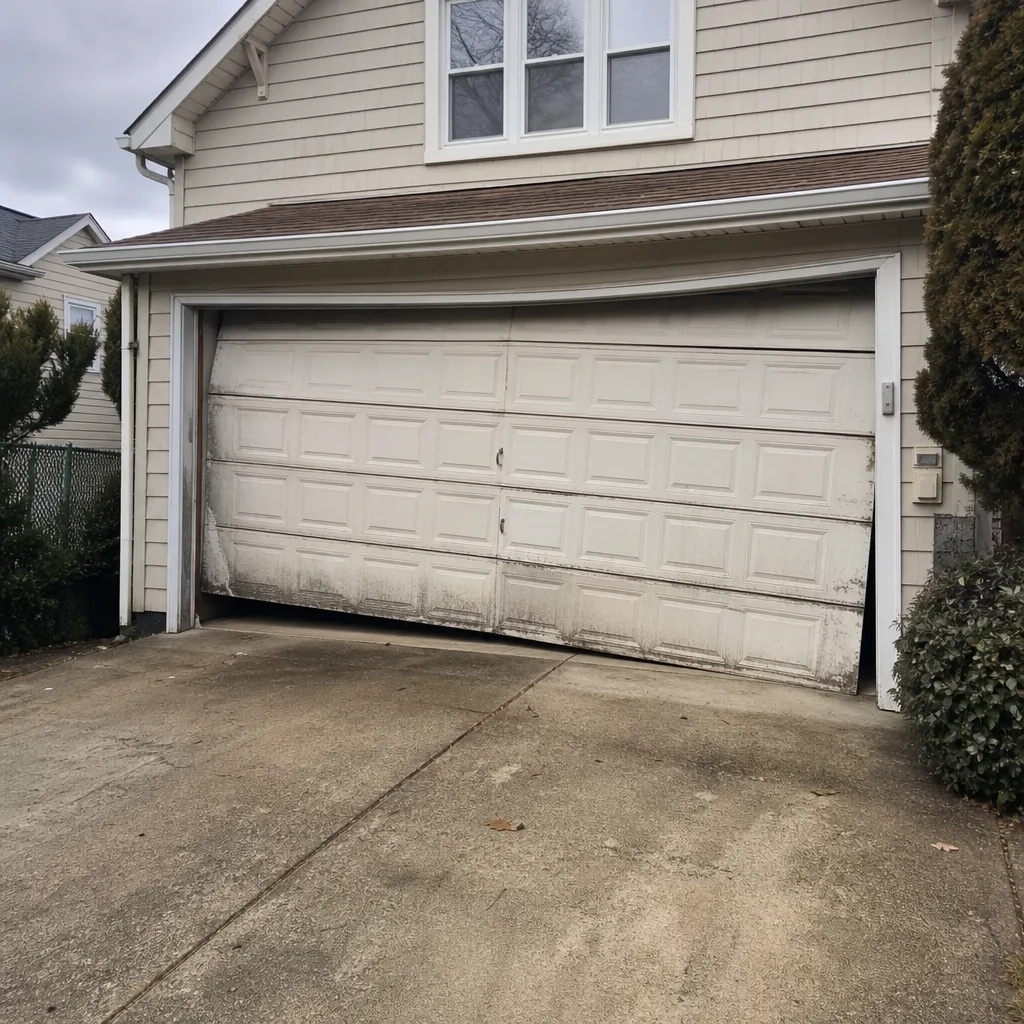 Before
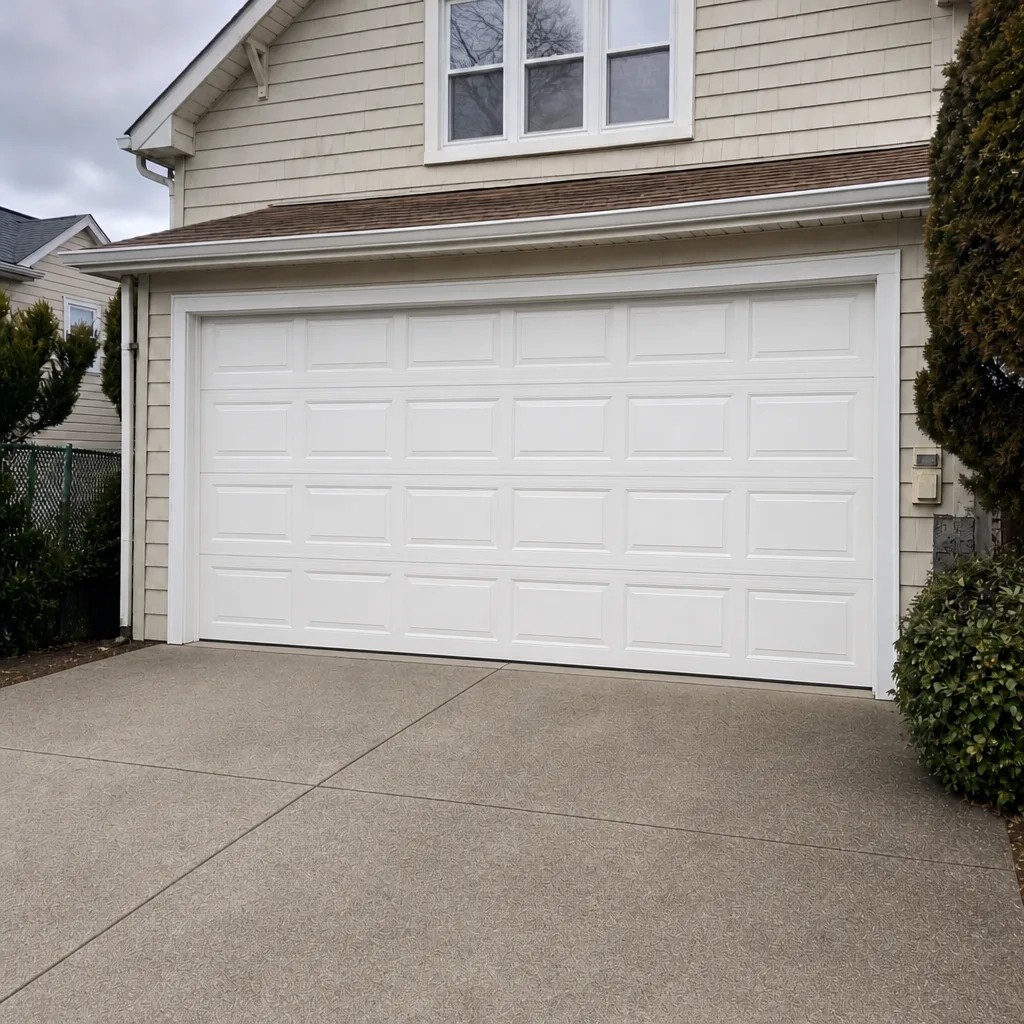 After
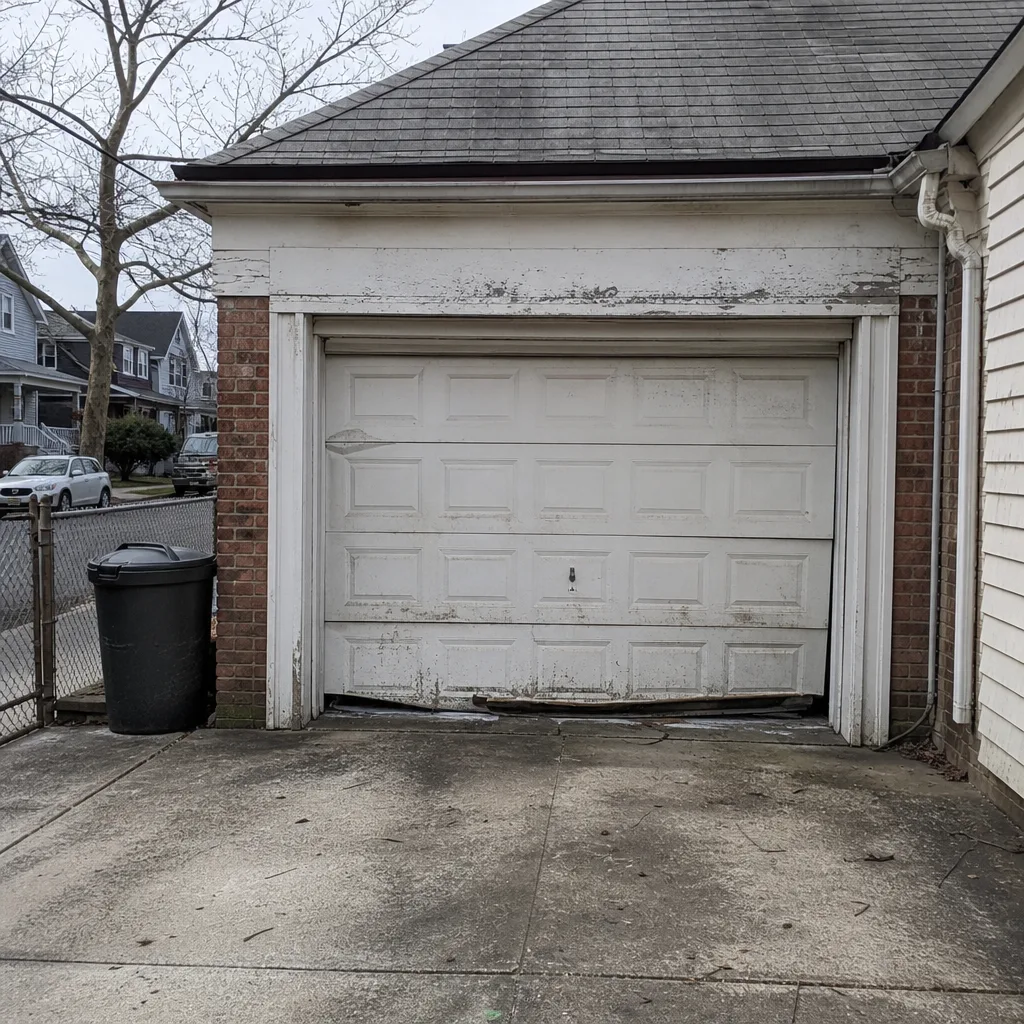 Before
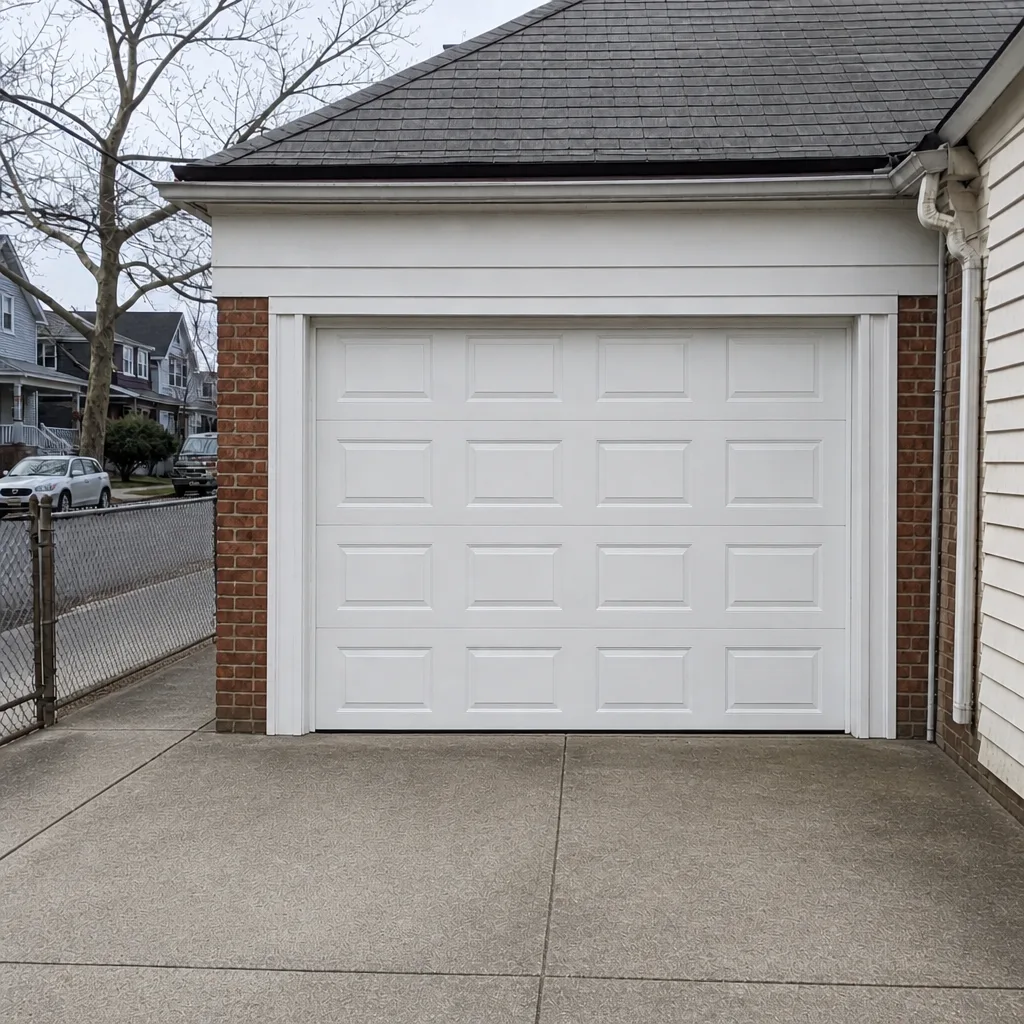 After
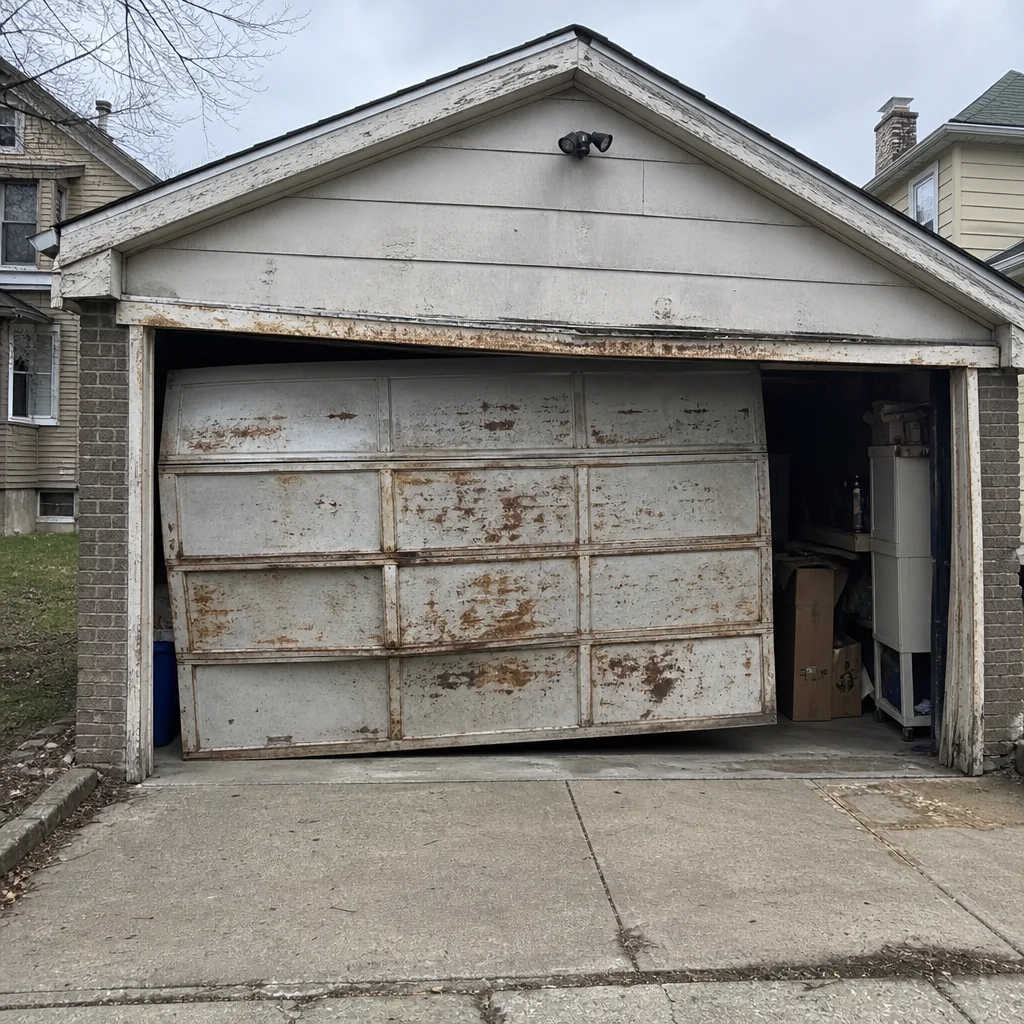 Before
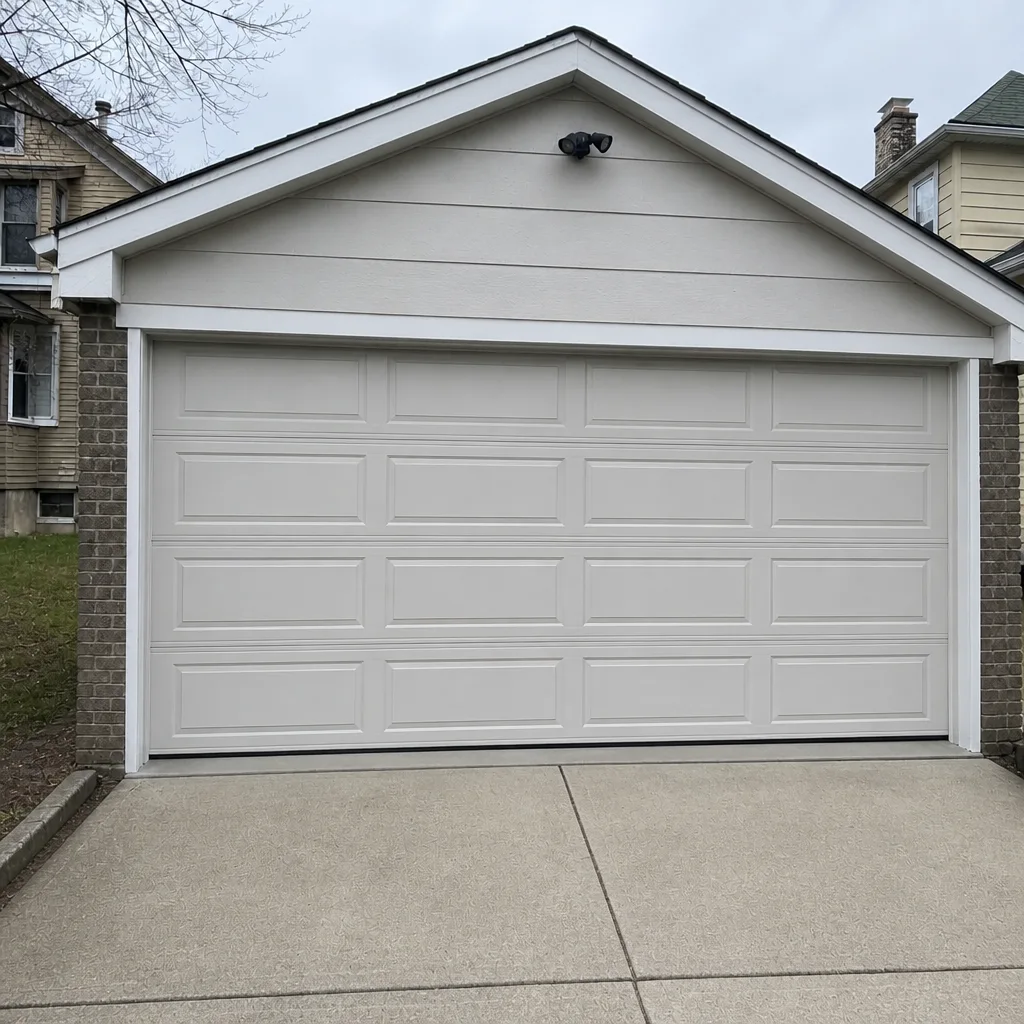 After
When to Call a Professional
Most of this checklist is homeowner territory: look, test, wipe, lubricate, document. What’s not homeowner territory is anything under tension. A spring with a visible gap, a rust band, or a stretch is a call. A cable that looks frayed or slack is a call. A door that’s come off its track, even by a fraction, is a call; don’t try to close it further to see what happens. An opener that’s failing the reverse test after you’ve tried calibration is a call, and so is any door that bangs, grinds, or hesitates on the same part of its travel every time.
If you’ve run through the seasonal checklist and something doesn’t look right, don’t talk yourself out of it. Garage Door Repair Astoria offers free estimates in Astoria. Call (866) 657-1039, and we’ll tell you whether it’s a repair, a replacement, or nothing to worry about. We work on the brand you already own, from Clopay to Amarr, Genie to Chamberlain.
Frequently Asked Questions
Check your torsion springs visually every month and do a full spring inspection with photos twice a year, at the start of the spring season and before winter. Astoria’s freeze-thaw cycle and the higher cycle count from urban driving wear springs faster than in less demanding climates. A monthly visual check takes ten seconds and catches a failing spring before it becomes an emergency. Call (866) 657-1039 for an exact quote on spring replacement; estimates are free.
No. Torsion springs are under extreme tension, and the proper tools and technique are not things a homeowner should attempt. Serious injuries happen when springs are released incorrectly or when cables snap under load. Your role is to inspect, photograph, and call when you see warning signs. Professional spring repair is a core service for us; call (866) 657-1039 to talk through what you’re seeing.
Use white lithium grease for rollers and a light machine oil for hinges. Avoid WD-40 as a long-term solution; it’s a solvent that evaporates and leaves rollers dry. In Astoria’s humid summers, reapply every three to four months. Thin coats only, since thick grease collects grit from the street and wears parts faster. Call (866) 657-1039 for a free estimate if you’d rather have a professional look at what’s on your door now.
If the door needs a force adjustment to close or open, if the motor struggles or strains at the same point in travel each cycle, or if it reverses without cause, the door is hard-running and the opener is doing extra work. Do the sensitivity test; if the door still fights the close, the issue is mechanical. Our garage door opener repair team handles any brand. Call (866) 657-1039 for a free estimate.
Repair is the right call when the door structure is sound and the problem is a spring, roller, opener, or track. Replacement makes sense when multiple panels are damaged, or when the door is showing widespread rust and misalignment. A technician should inspect and tell you which situation you’re in rather than pushing a replacement. Call (866) 657-1039 for a free estimate and a straight answer.
Not every failure, but most. In our experience, the majority of emergency garage door calls in Astoria could have been caught by a spring inspection or a regular lubrication schedule. A broken spring, a slipping door, and a failed opener almost always give warning signs over weeks or months. Following this checklist regularly catches most of them. If the door is already failing, emergency response is available; call (866) 657-1039 for a free estimate.
The Bottom Line
A garage door maintenance checklist is only as useful as its timing. In Astoria, spring wear accelerates through the freeze-thaw cycle, rollers and tracks wear faster because of higher cycle counts and tight driveways, and seals fail quietly under repeated freeze-thaw. The checklist that works combines monthly spring checks, seasonal lubrication, opener force and sensitivity testing, and photographic documentation of everything you see. Do the visual and lubrication work yourself. Call a specialist for springs, cables, tracks that are bent, and openers that fight the door.
Almost none of this takes much time, and the payoff is a door that runs smoothly for years instead of failing on the one day you need it. If a check on your checklist turns up something you don’t like the look of, call us. Call (866) 657-1039. We answer 24/7. Fast dispatch from 7am to 7pm, Sunday through Friday. Estimates are free, and the price is set per job by the written estimate.
Written by the team at Garage Door Repair Astoria.